How to Create an Embroidery Journal
Creating an embroidery journal is a fun, fulfilling, crafty way to document a year! Here’s everything you need to know in order to make your own.
This year a goal of mine was to explore hobbies, and lean into doing things for the joy of it.
That goal led me here, over halfway through an embroidery journal. It has been bringing me so much joy (and teaching me so many skills!).
What is an Embroidery Journal?
An embroidery journal is a creative way of documenting a year (or any other experience, event, or span of time).
I chose to document our family’s year and the milestones, memories, and events that took place.
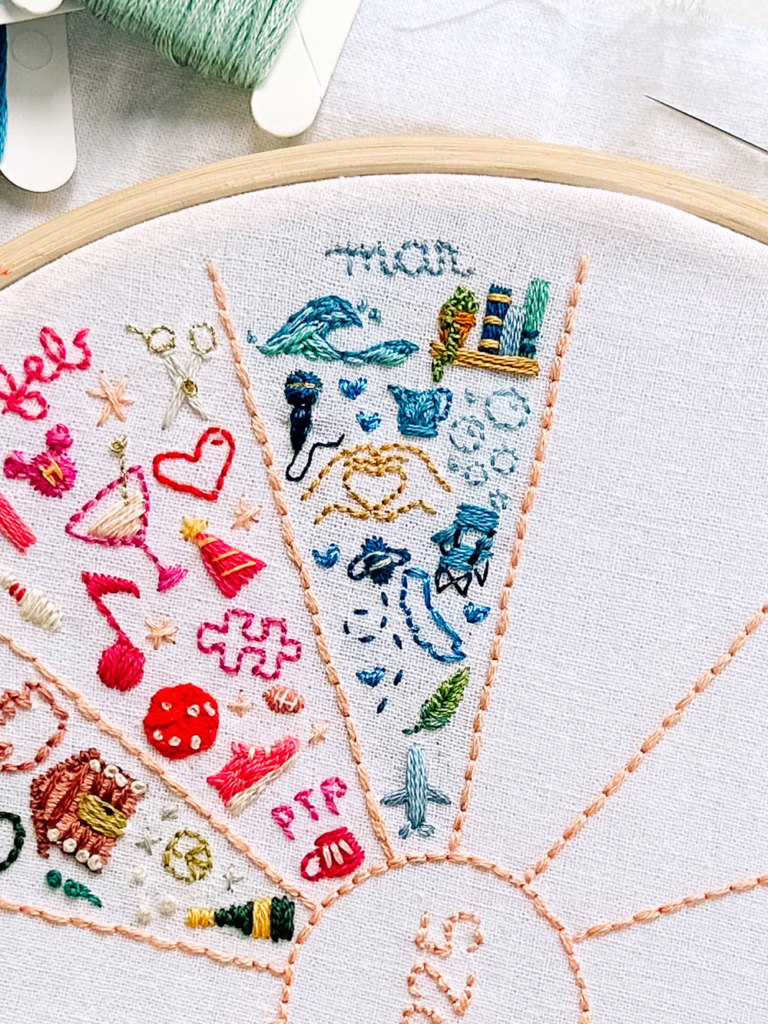
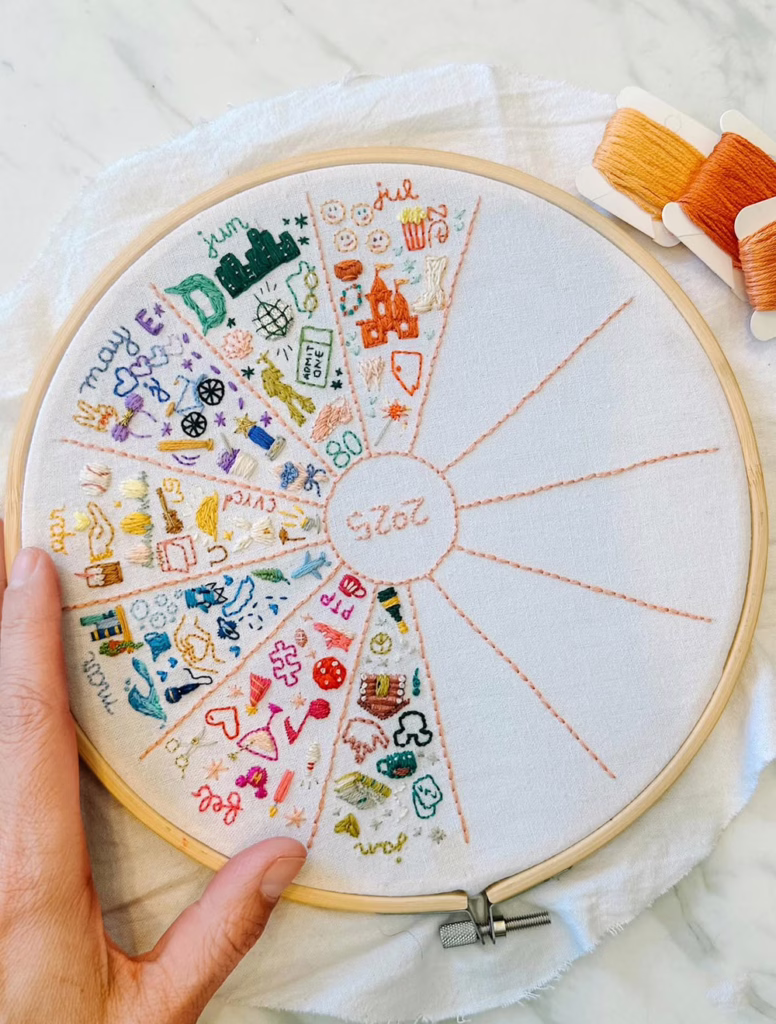
On my embroidery journal, each milestone or memory is commemorated with a stitched icon or picture, in a grid of 12 months on an embroidery hoop. Other journals are organized in different structures – and you can choose what works best for you!
To me, the compelling thing about an embroidery journal is that it encourages presence, mindfulness, and a certain amount of slowing down. Creating each stitch is a chance not only to improve your skill but to enjoy memories and to savor the act of creating something by hand.
My Favorite Embroidery Journal Resource
I certainly can’t take credit for the idea! The first place I saw an embroidery journal was on Instagram, from creator and embroidery artist Emily June.
Embroidery journals are not necessarily a new concept, but I loved how Emily formatted hers. It felt attainable for a newbie like me. She has a fantastic post about how to get started with lots of different styles of embroidery journals.
I also downloaded and used her pattern guides, which has hundreds (thousands?!) of icons and patterns to help you create the shapes that you’ll stitch. Highly recommend.
I found that early on, I used these patterns as a safety net. As I got more comfortable, I was able to stitch the things that were in my head more easily. They’re a great jumping off point.
This post is also great for recommendations for hoops, fabric, and more.
Organizing Embroidery Thread
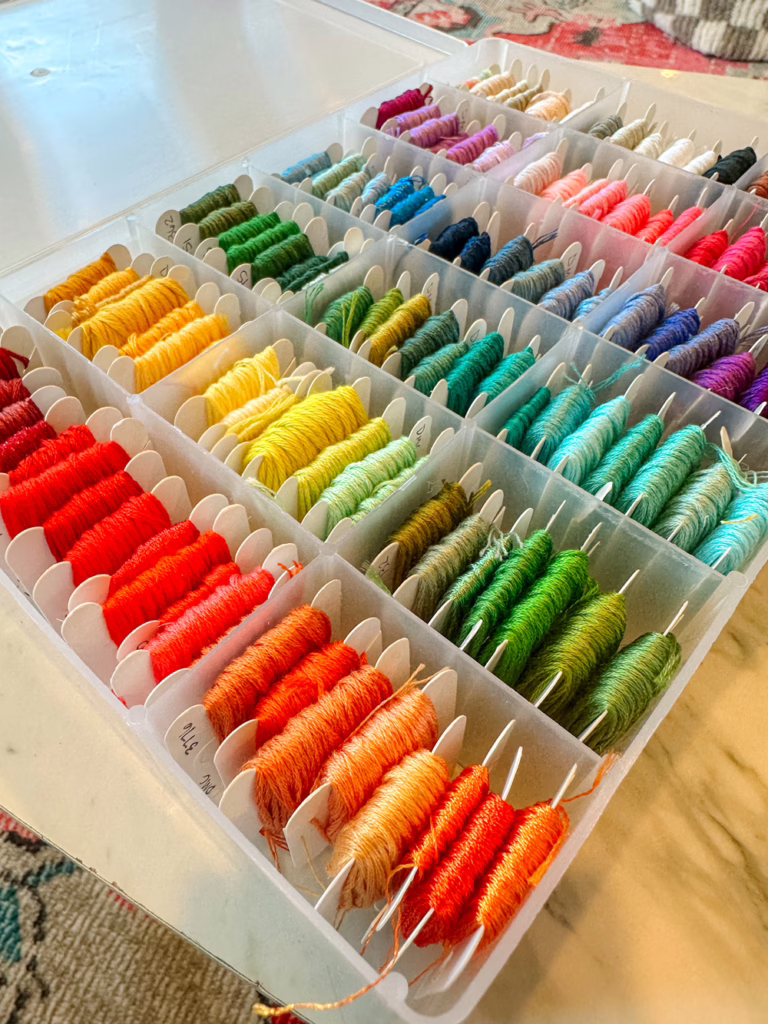
When I was prepping for the embroidery journal project, I wanted to get all of my embroidery thread and floss organized in one place. This has made it so much easier to work on the project, as all of my supplies are in one place.
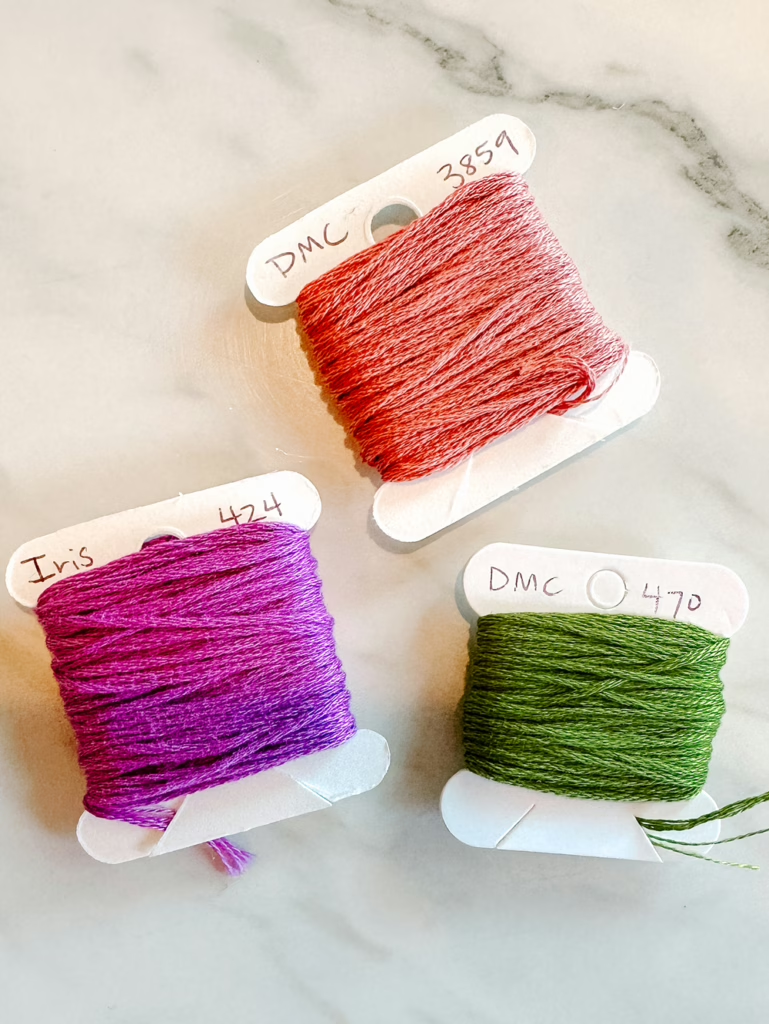
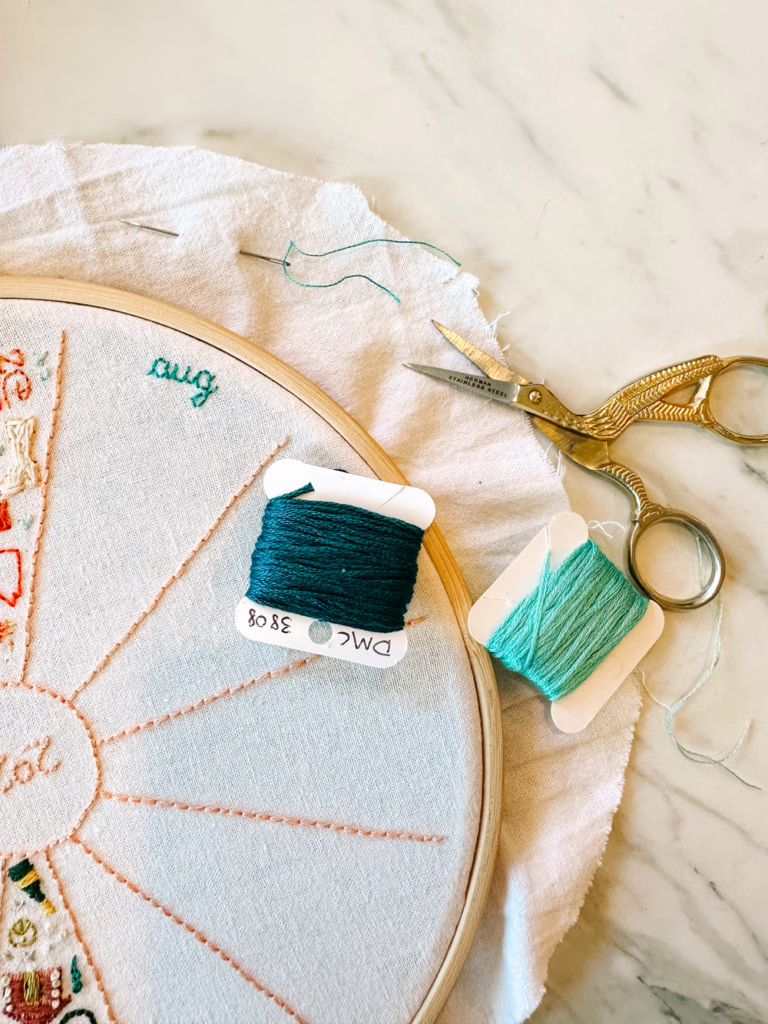
I took some time to wrap each of my skeins of embroidery floss around a cardboard bobbin. On each bobbin, I wrote the brand and color number of the thread so that they can be identified.
Then all of the bobbins went into this snap-tight box to keep them wrangled and organized.
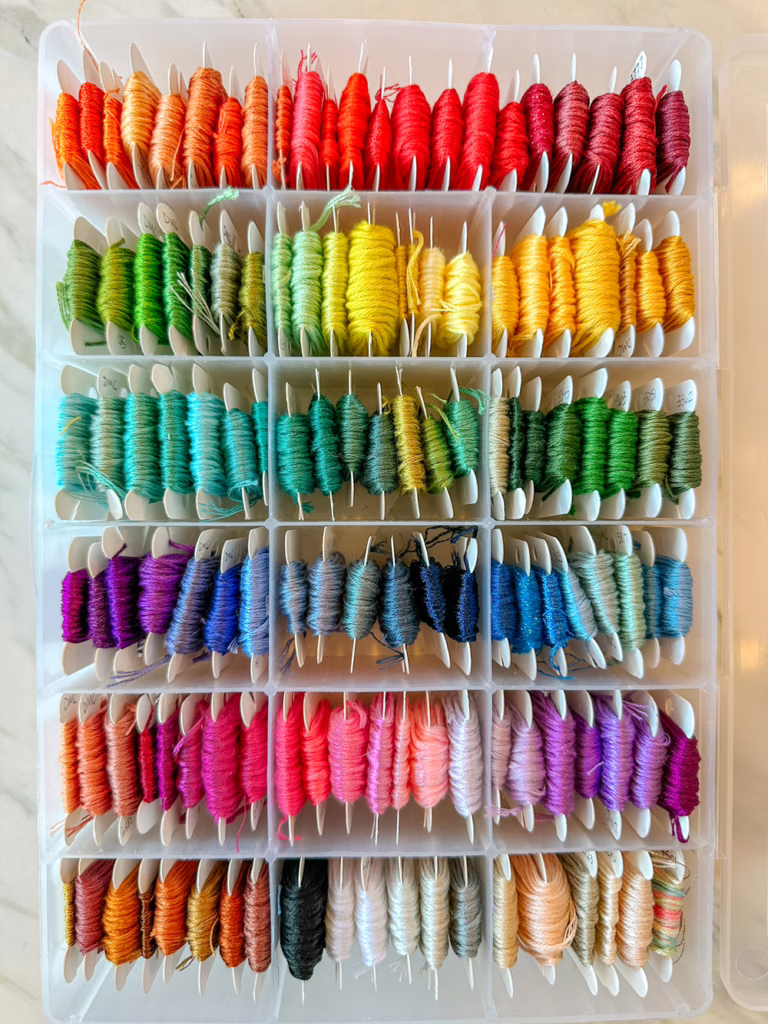
The box also holds my embroidery scissors (I love these because they’re compact, super sharp, and have a nice pointy tip for pulling out stitches).
Choosing Designs for Each Month in Your Embroidery Journal
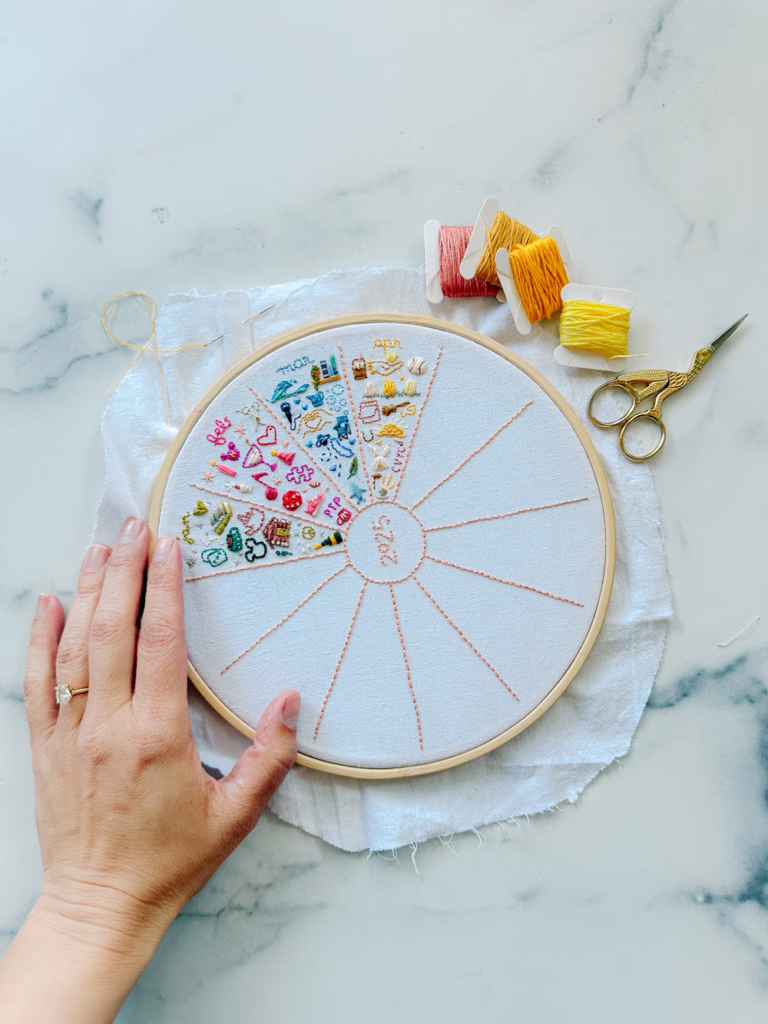
To organize my embroidery journal, I used a ruler to measure and stitch a grid of 12 months, with the year in the center.
This will give you a template for your months, which you can then fill in as you go.
Each month, I would try to embroider a bit every few days to document the things that were happening in my family’s life.
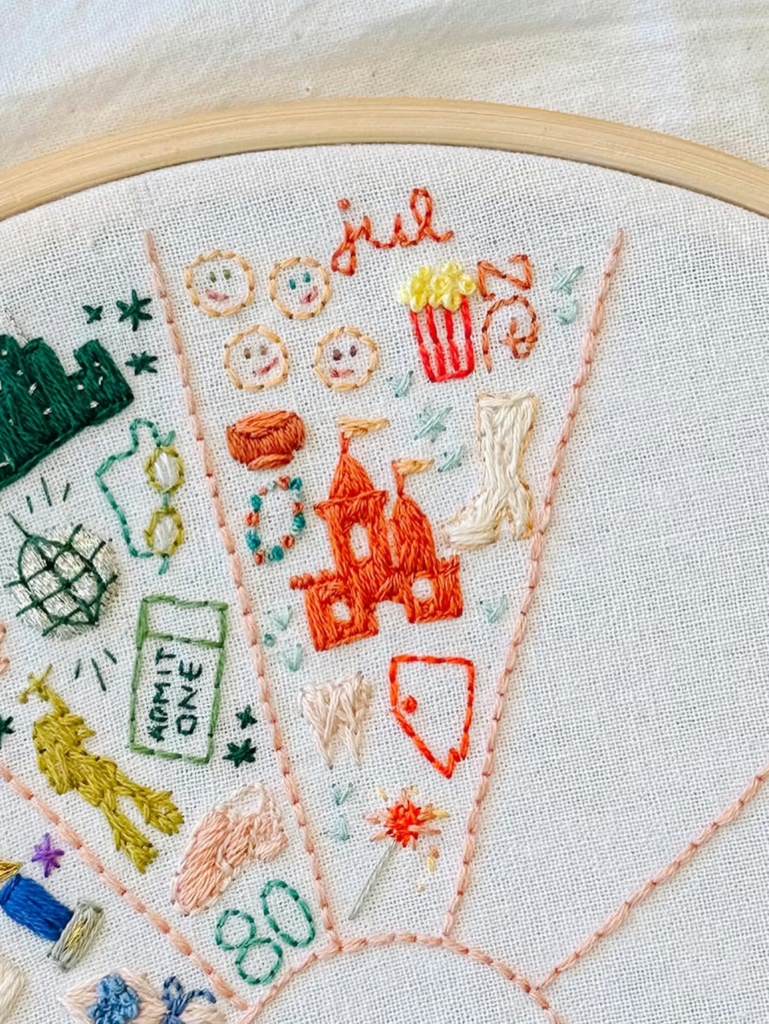
If you want to do the same, start by considering the major events or memories you’ve had throughout the week or month. For each event or memory, choose an icon or a visual representation to stitch.
This can be anything! For instance, trips to Disneyland show up very often on my calendar but they all look different — a castle, Mickey ears, bubbles, a D, and so on.
Choose an icon that will bring up a fond memory of the event you’re stitching.
How to Embroider Small Icons in an Embroidery Journal
I learned quickly that embroidering tiny things can be tricky! There have been many instances where I snipped out stitches and started over on a design because I didn’t like how it turned out.
But the more you practice, the better you’ll get!
I found lots of help in Emily June’s embroidery journal download. There are lots of pages dedicated to stitch tutorials and how to create different looks with varying stitches.
I also spent a good amount of time on YouTube in the beginning, watching embroidery tutorial videos!
How to Keep Your Embroidery Journal on Track
But I think that the key piece of creating an embroidery journal is the actual doing of the thing.
It’s a project that’s easy to fall behind on, and I wanted to really commit to finishing it and staying up to date. I really didn’t want months to go by without any new stitches.
One thing that really helped me stay on track was ensuring that I finished each month by the first of the following month. I was a few days late here and there, but that goal helped me see the project through.
I also shared a photo on social media on the first of each month to document my progress. This also kept me moving forward.
If you’re interested in embroidery as a hobby, I can’t recommend this project highly enough!
Enjoy yourself on the journey and watch your skills grow. You’ll create an heirloom that you can pass down for generations to come. xoxo
This post contains affiliate links for your convenience. This means that I receive a small commission should you make a purchase via one of these links, at no additional cost to you. Thank you as always for your support.
